
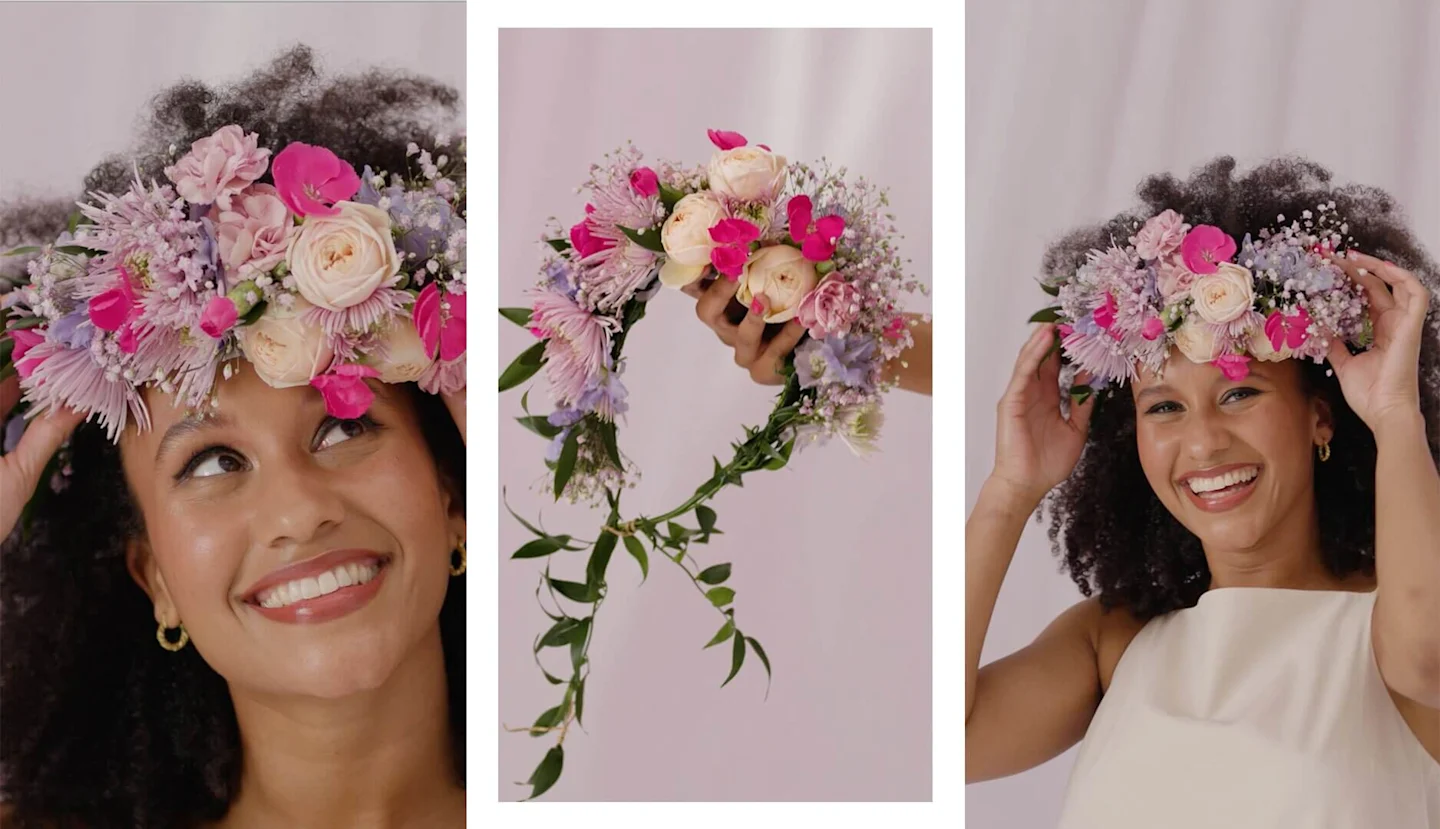
From Ancient Greek Olympians to Frida Kahlo, Shakespeare’s Ophelia to Lana Del Rey, and from Rembrandt’s ‘Flora’ to this year's fashion runways, the magic of flower crowns has us all under its spell. And how happy we are to be spellbound!
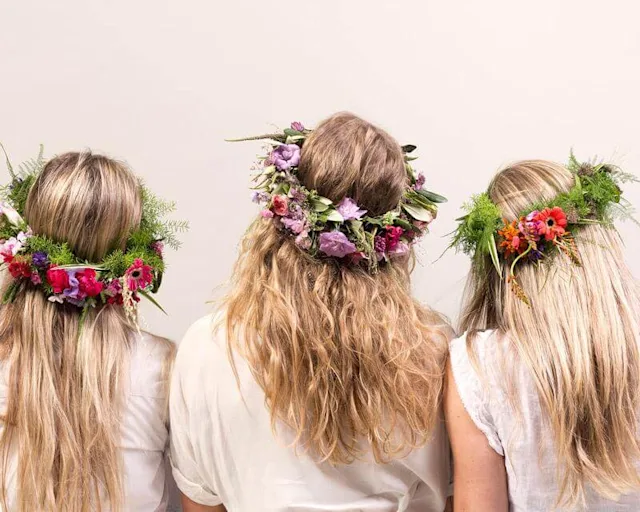
Keep it simple with a few flowers and sprigs foliage or make a statement with a dramatic floral halo. Go for a mono-coloured crown of blush spray roses or experiment with tropical stems and textures. Anything and everything is possible when it comes to flower crowns!
What you’ll need:
Florist’s wire
Florist’s tape
Florist’s copper wire on a spool (0.6 mm)
Ribbon (your choice)
Secateurs or sharp scissors
Fresh flowers (more on this below)
Which flowers work best?
You’ll find plenty of suitable stems for flower crowns in our summer bouquets. And, if you’re making a flower crown in a different season, always go for seasonal stems. Such as evergreens and berries in winter or dahlias and rosemary in autumn. Hardy flowers that don’t wilt as fast work best in flower crowns. Look for statement blooms with thinner stems that are lighter and therefore less likely to slip out of place.
How long does a flower crown last?
Fresh flowers out of water don’t last as long as they do in a vase. Make your flower crown on the day of the event. It’ll look fresh and punchy for the first few hours and should last until bedtime if they don’t get too hot and bothered.
How to make a flower crown
1. Ready, steady, drink
Before you begin, make sure your flowers have been in nice clean water for at least 1-2 hours. Thirsty flowers wilt faster. Ready 2 pieces of (thick) florist’s wire, the spool of thin copper wire, and florists tape.
2. Loopy-loo
Make a loop at one end of each piece of wire. Tip: use a marker pen to make a neat circle.
3. The headband
Overlay the two pieces of wire by one third. Using florist’s tape, wrap the whole length of wire from loop-to-loop. Bend the base of your headband into a horseshoe or… head shape.
Tip
: Stretch the florist’s tape as you wrap. The warmth from your fingers makes the tape sticky so it becomes self-> adhesive.
4. Snip stems
Cut the foliage into small pieces and cut stems to length. Stems should be roughly 5-8 cm. Lay them out so you can see what you’re working with.
5. Foliage first
Start at a loop. Attach the copper wire to your flower crown headband by wrapping it a few times. Pick your first piece of foliage. Lay it on the headband, tip facing the loop. Attach it with the wire. Pull the copper wire taught, so it’s secure.
Tip
: Don’t cut the wire. From the spool, use one piece for the entire crown.
6. More foliage
Keep adding greenery, wrapping it securely to the headband. Think roof tiles – ‘stack’ the foliage onto the headband, slightly overlapping each time.
Tip
: The overall shape of the flower crown should be thinner at the sides (near the loops), gradually becoming fuller in the middle.
7. Add flowers
Using the same action, lay the flower on the headband where you want it and secure the stem with copper wire.
8. Nearing halfway
When you near halfway, a tip from our floral stylist is to use the biggest flowers here to create a focal point on your crown
9. Add more flowers
Keep adding flowers with foliage mixed in to create a full and wild effect.
10. Finish with foliage
As you near the loop at the other end, only use greenery as you did in the beginning. Lay the last piece of foliage with the tip facing the loop. Secure it tightly with the wire. Tie a knot.
11. Tie a ribbon
Cut two lengths of ribbon. The longer it is, the more it’ll hang down your back. Double one length of ribbon and thread it through the loop. Draw the ends through and secure it like a tassel. Repeat on the other side.
12. Time to shine!
Admire your handy work. Tie a bow with the ribbon so it fits snugly. Now enjoy feeling like a queen and shining like the sun.
Tip
: Spritz your flower crown with water throughout the day to help the flowers stay fresh. A travel spray bottle filled with water works and fits in your purse!
Don’t forget to share your floral creation with us and our community using #bloomon on Facebook or Instagram for a repost.